Orbea MyO is one of the best customisation tools available in the bike world.
Rather than choosing a bike straight off the shelf and accepting whatever colour and spec is available, MyO gives you the chance to build something that feels personal from the start.
Colours, graphics, finish, components and fit options can all be adjusted depending on the model, giving you far more control over how your new Orbea looks, rides and feels.
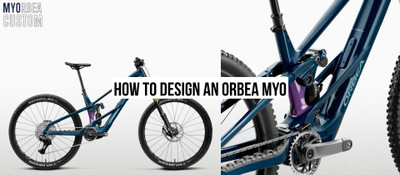
In this guide, we’ll walk you through how to design an Orbea MyO bike step by step, from choosing the right model to saving your final design and sending it over to us.

What is Orbea MyO?
Orbea MyO is Orbea’s online custom bike builder.
It allows you to take selected Orbea models and personalise key details before the bike is built. Depending on the bike, this can include frame colours, logo colours, graphic finishes, cockpit options, wheel choices, tyres, drivetrain options, suspension and other build details.
The main benefit is simple.
You are not just choosing a bike.
You are shaping the bike around your own style, riding and preferences.
That could mean a completely unique colourway, a more practical component choice, a different tyre setup, or small fit details that make the bike feel more natural from the first ride.
Step 1: Choose the right Orbea model
Before getting carried away with colours, the first step is choosing the right bike.
This is the most important part of the process.
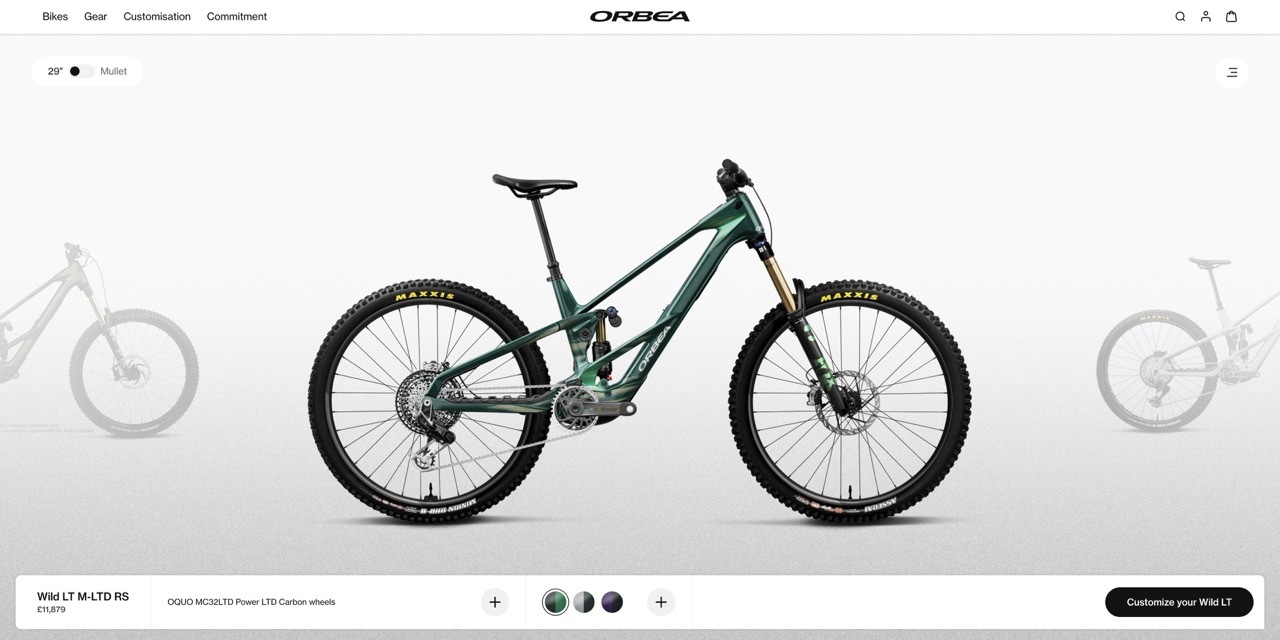
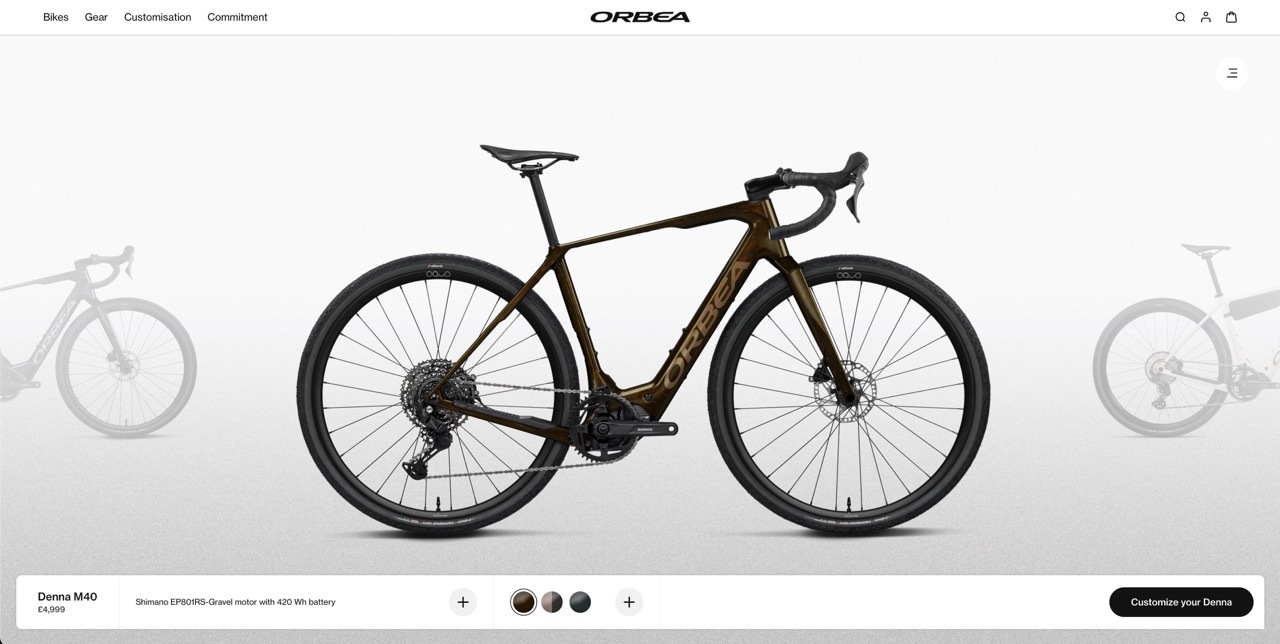
Orbea offer MyO customisation across a range of models, but the available options will depend on the bike you are looking at. For mountain bike and e-bike riders, this could include models such as the Orbea Wild, Rise, Rallon, Occam, Oiz and other selected platforms.
Think about where you ride most.
If you want a full-power eMTB for steep climbs, big terrain and technical descents, something like the Orbea Wild may be the right direction.
If you want a lighter, more natural-feeling eMTB, the Orbea Rise may suit you better.
If you are focused on trail riding, enduro, XC or gravel, your starting point will be different again.
The MyO process works best when you choose the right platform first, then customise from there.
Step 2: Pick your size
Once you have chosen the model, the next step is sizing.
This is not the exciting bit visually, but it matters more than almost anything else.
A custom paint finish is only worth having if the bike fits properly.
Use Orbea’s size guide as a starting point, but also consider your riding style, previous bikes and how you like a bike to feel. Some riders prefer a slightly longer bike for stability, while others prefer a more compact feel for manoeuvrability and tighter trails.
If you are between sizes, it is worth speaking to us before placing the order.
A few minutes of advice at this stage can make a big difference once the bike arrives.
Step 3: Open the MyO configurator
Once you are on the right Orbea model, look for the MyO or “Configure” option.
This opens the custom builder and lets you start designing your bike.
From here, you can move through the available options step by step. The configurator will show a live preview of the bike as you make changes, so you can see how each colour and component choice affects the overall look.
This is where the process becomes really useful.
You can test bold colour combinations, keep things subtle, match logos to the frame, or build something completely different to anything else on the shop floor.
Step 4: Choose your frame colours
This is the part most people go to first.
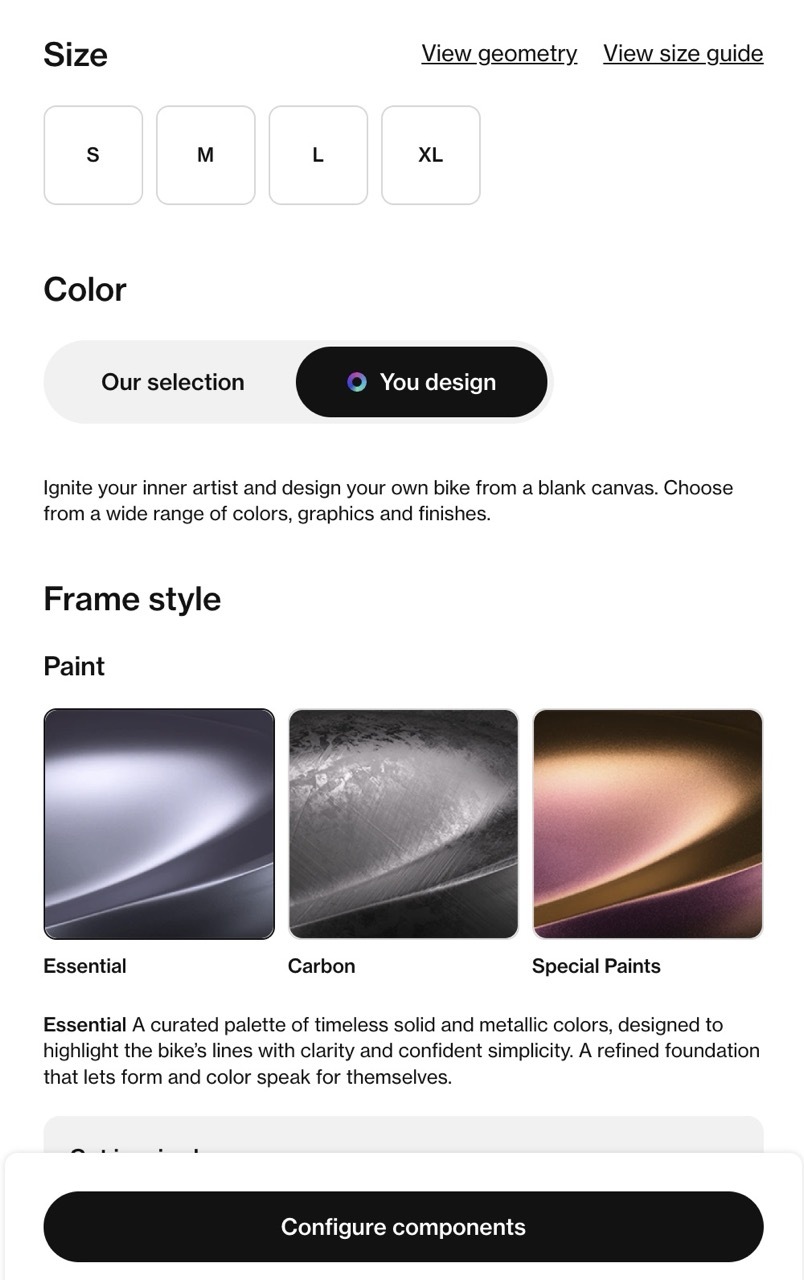
Orbea’s MyO colour tool lets you choose from a wide range of frame colours and finishes, depending on the model. You can usually adjust different parts of the frame separately, giving you control over the main colour, secondary details and logo sections.
This is where it is worth slowing down.
Some colours look completely different depending on whether they are paired with gloss, matte, metallic or raw carbon finishes. A bright colour can look great on screen, but a more subtle finish may age better if you want the bike to look clean for years.
Our advice is to think about the complete bike, not just the frame.
Consider the fork colour, wheel decals, tyres, drivetrain and finishing kit. A good MyO design works as a full package.
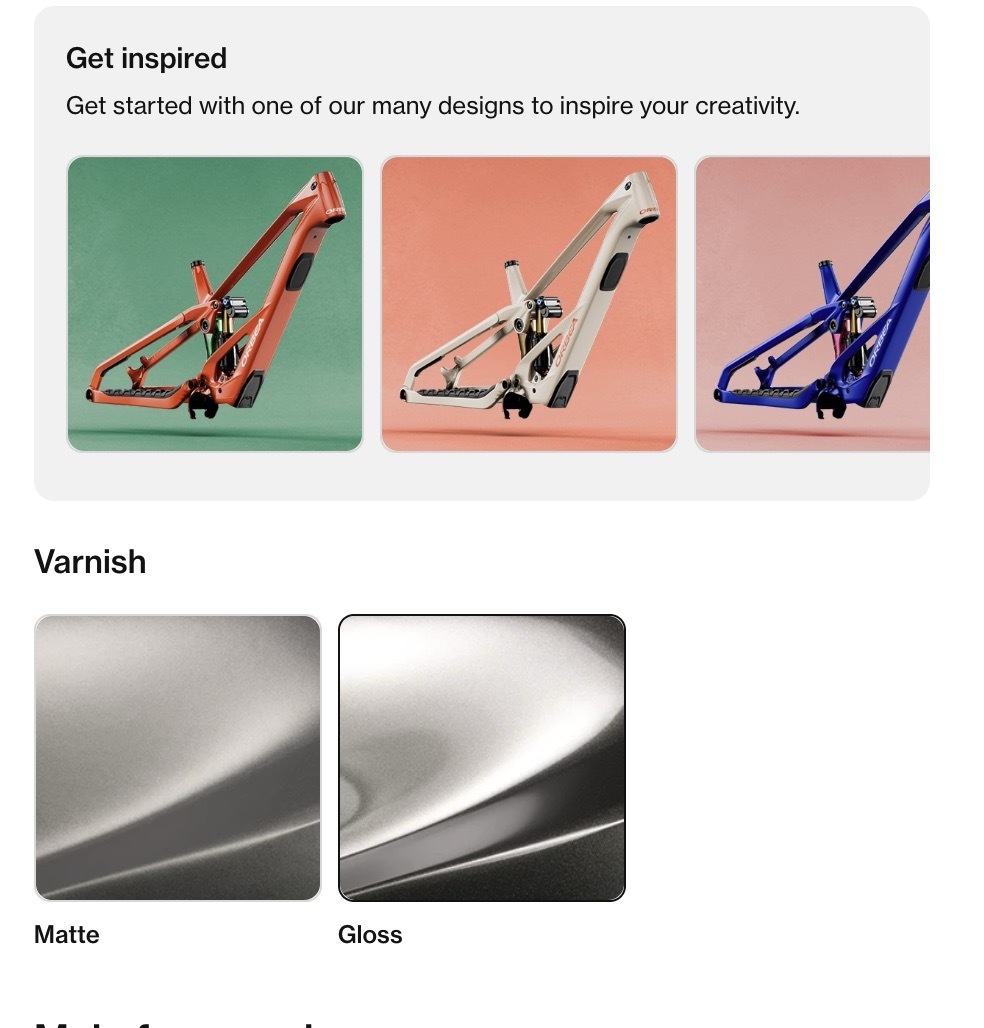
Step 5: Choose logos, decals and finish
After the main colours, the next step is the detailing. This includes logos, decals and sometimes smaller frame graphics depending on the bike.
These details can change the whole character of the design. A dark frame with low-contrast logos gives a clean, stealthy finish. A bright logo against a neutral frame makes the bike stand out more. Matching small decals with fork graphics or wheel branding can also pull the build together nicely.
This is usually where the best MyO designs are made.
Not by making every part loud, but by choosing colours that work together.
Simple often looks best.
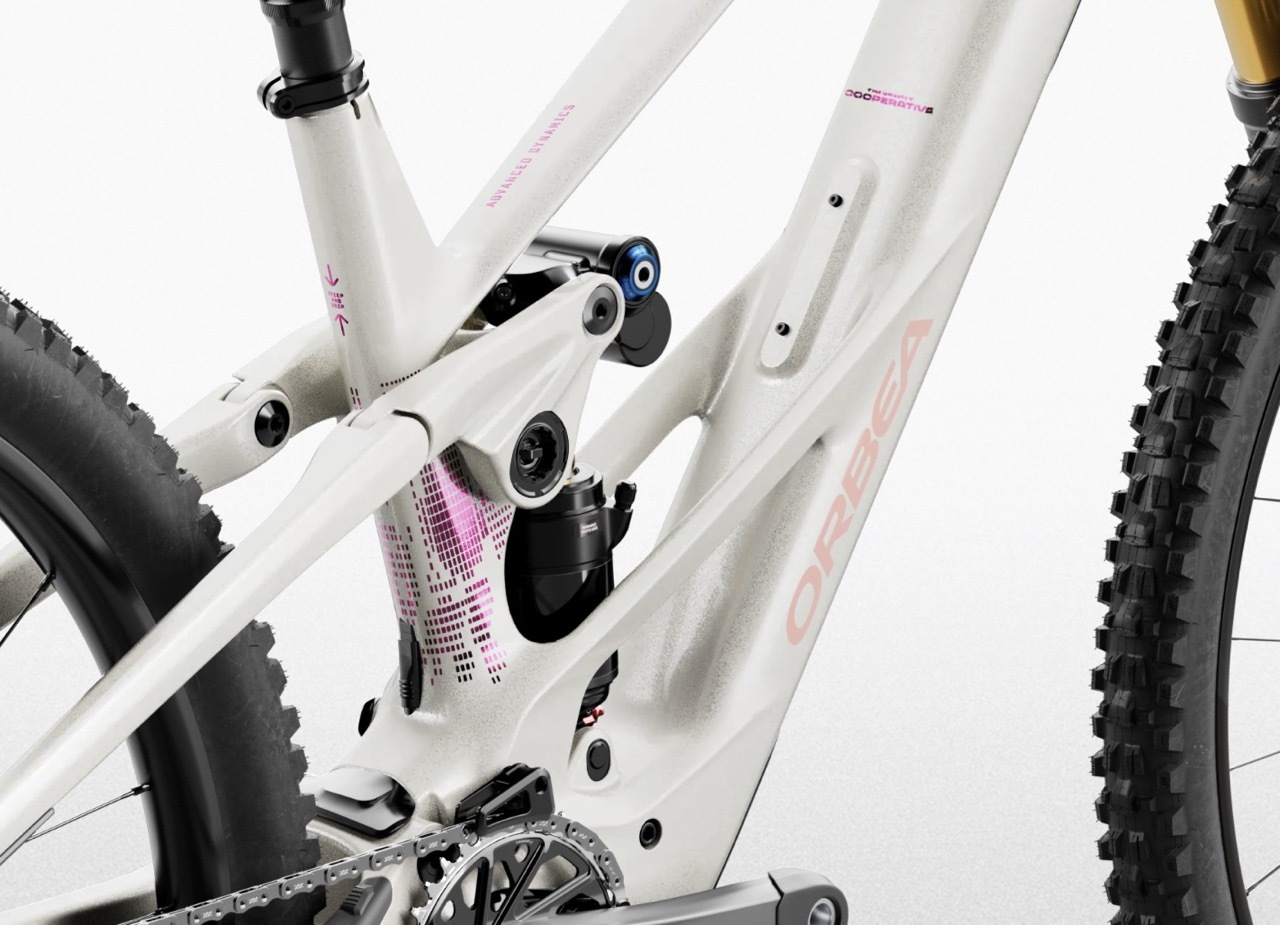
Step 6: Fine-tune the components
MyO is not only about paint.
On selected models, you can also adjust parts of the specification.
This can include choices such as wheels, tyres, suspension, drivetrain, brakes, saddle, handlebar, stem, crank length, dropper post and battery options depending on the model and current availability.
This is where the bike can be tuned properly around your riding.
For UK mountain biking, tyre choice is especially important. A fast-rolling tyre might suit trail centres and summer riding, while a more aggressive casing and tread pattern makes more sense for rougher terrain, natural trails and wet conditions.
Suspension and wheel choices can also make a big difference. If you are a heavier rider, ride hard, or spend a lot of time on rough ground, it may be worth prioritising strength and support over saving a small amount of weight.
The key is to build the bike for how you actually ride, not just what looks best on paper.
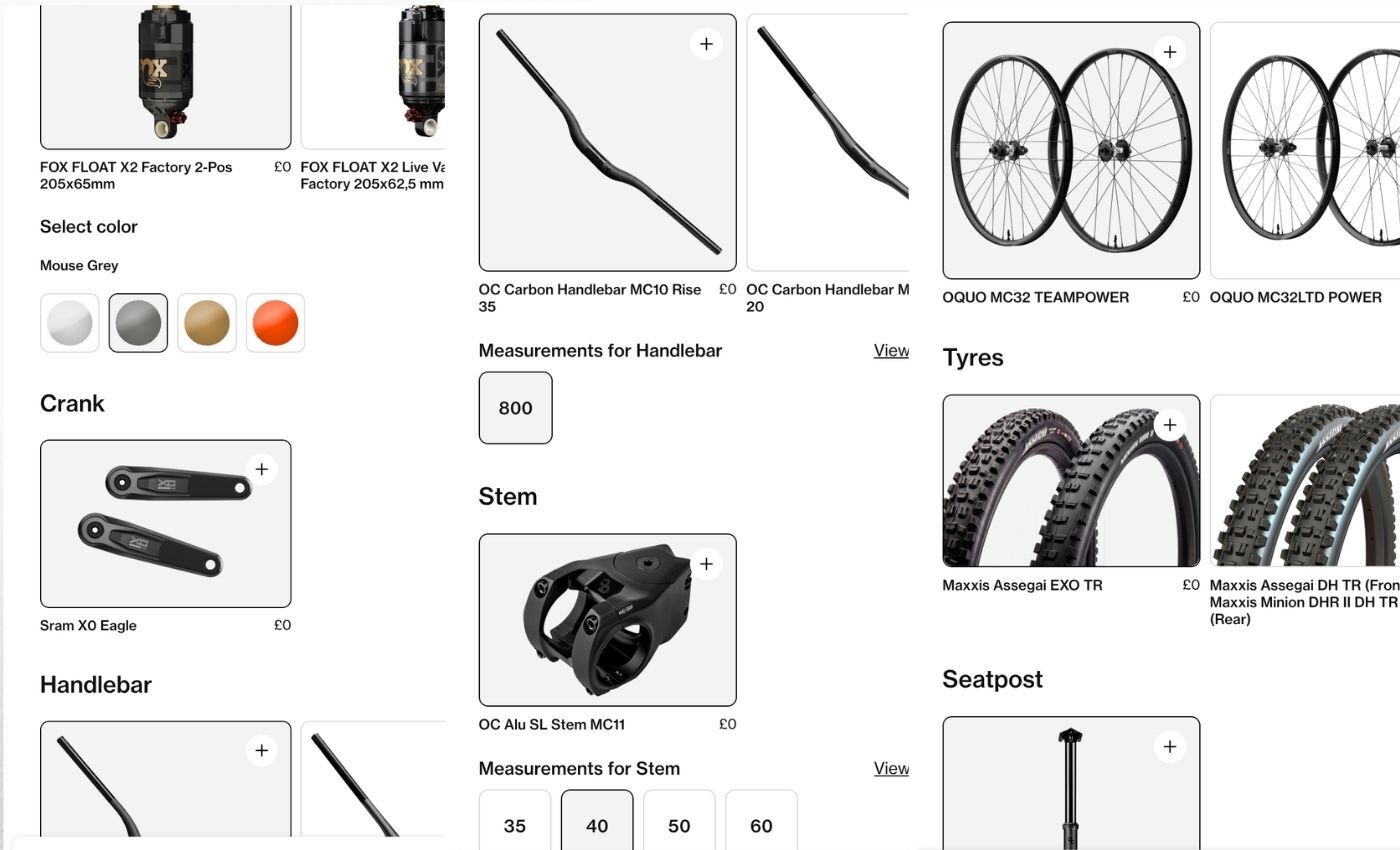
Step 7: Check fit and contact points
Small fit details can make a big difference.
Depending on the model, MyO may allow you to adjust elements such as saddle choice, handlebar width, stem length, crank length or dropper post length.
These are easy to overlook, but they affect how comfortable and controlled the bike feels.
For mountain bikes and eMTBs, cockpit setup is especially important. Bar width, reach and dropper post length all affect confidence on technical terrain. A good setup helps you stay centred on the bike, move around properly and feel more in control when the trail gets steeper or rougher.
If you are unsure, speak to us before finalising the design.
We can help you work through what makes sense for your height, riding style and the type of terrain you ride most.
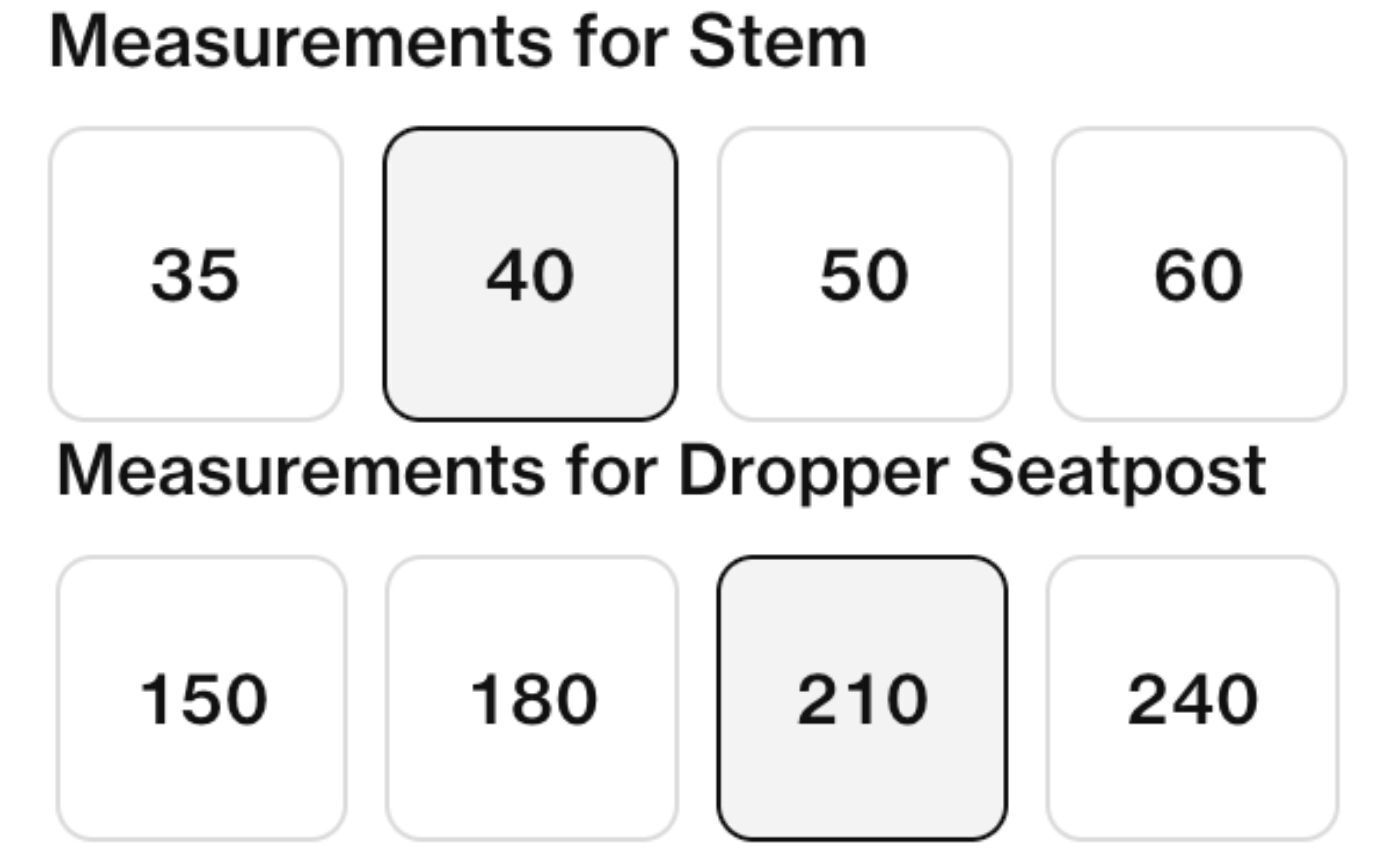
Step 8: Review the full design
Before saving your MyO design, take a step back and review the full bike.
Check the colour combination from different angles.
Look at how the logos sit against the frame colour.
Review the component choices.
Make sure the size is correct.
Check whether the build still suits the riding you originally had in mind.
It is easy to get pulled into the visual side of MyO, but the final bike needs to work on the trail as well as it looks on screen.
A clean design, correct size and sensible spec will always beat a flashy build that is not quite right for you.
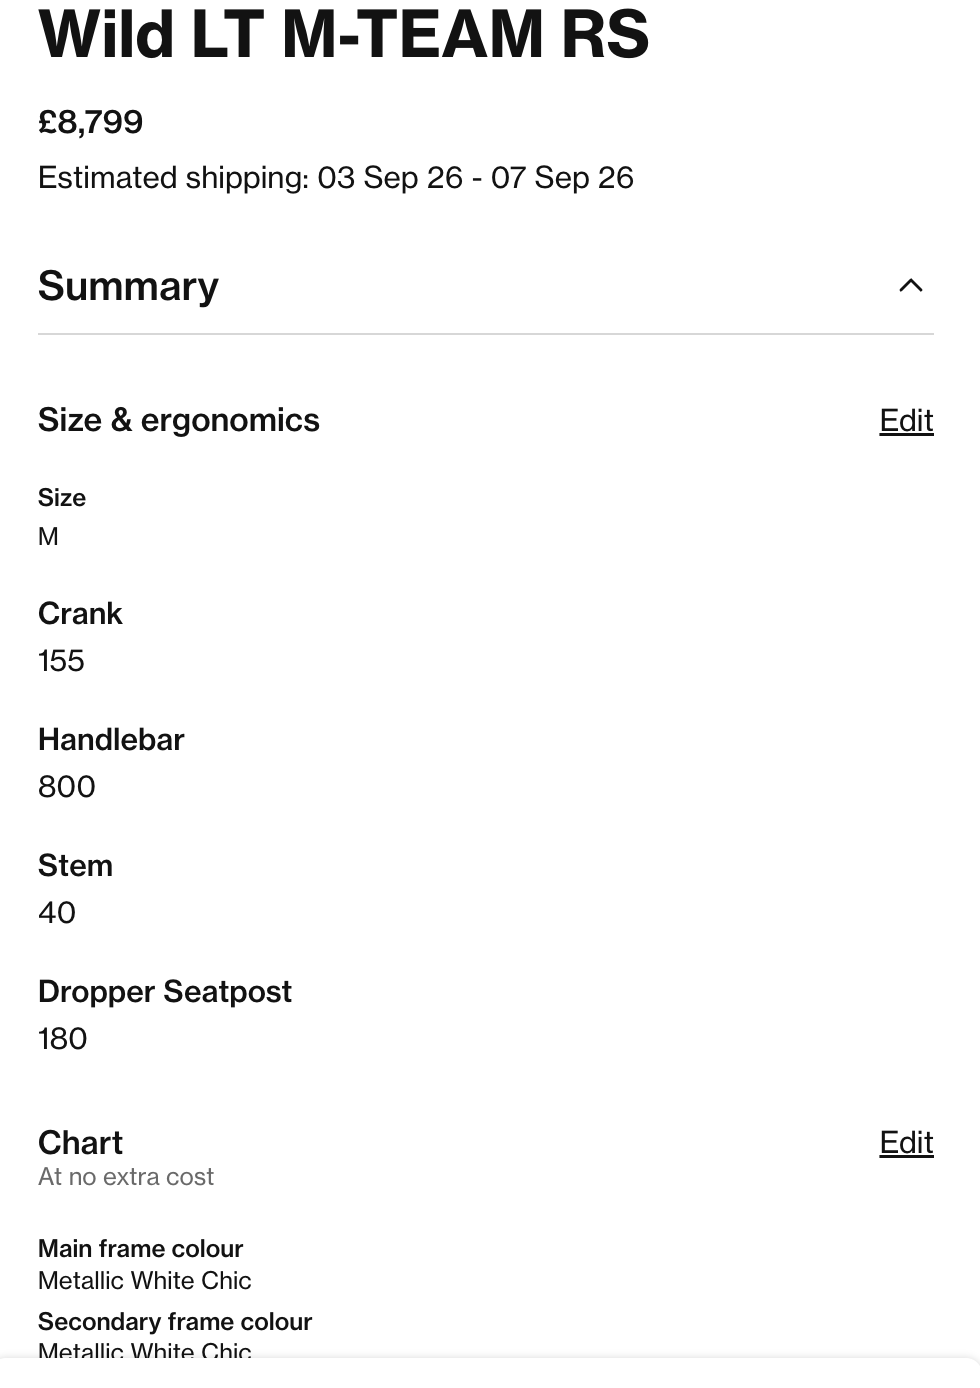
Step 9: Save your Orbea MyO design
Once you are happy, save your MyO design.
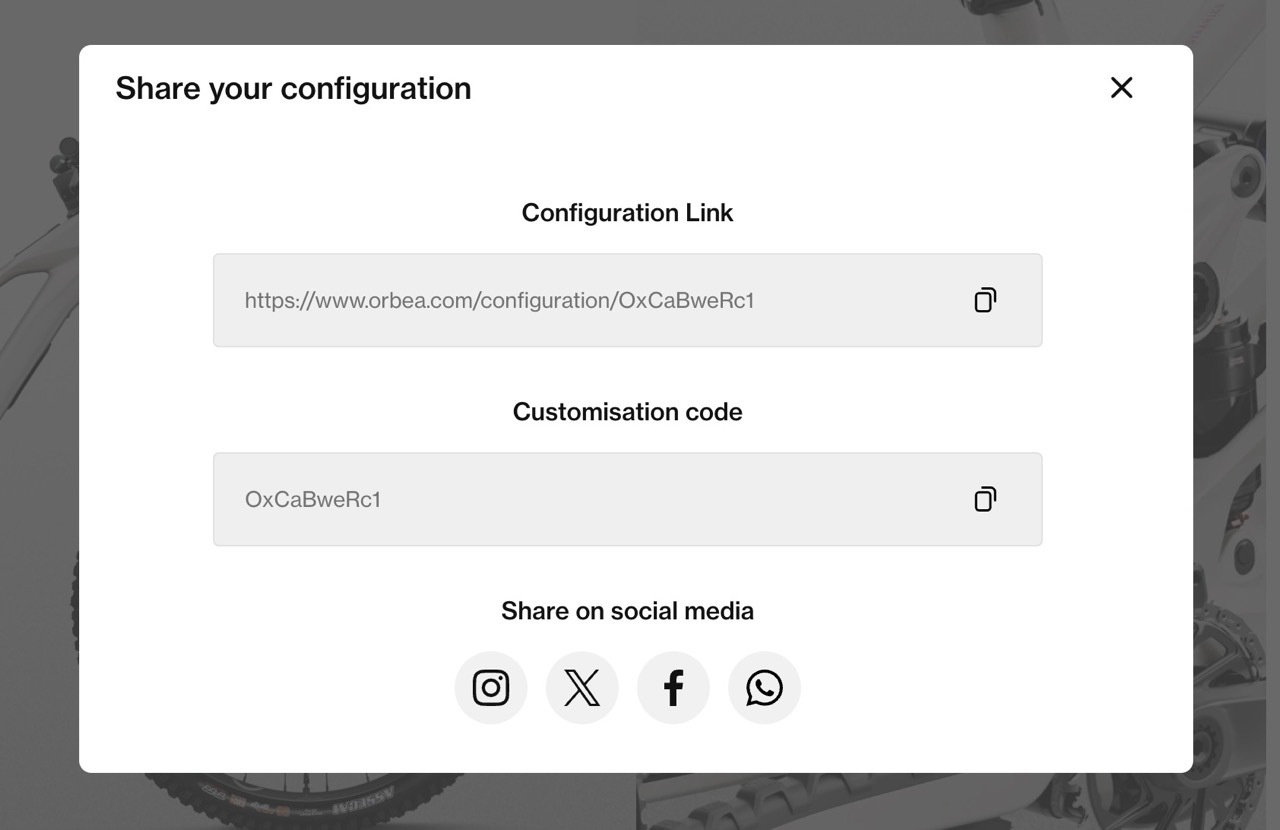
The configurator will usually give you a design code or share option. This is what we need to view your build and help you move forward with the order.
Send the MyO code over to us, or get in touch with the team and we can check the design, confirm the options and advise on current availability.
This is also a good point to ask any final questions.
If something looks possible online, we can help confirm what is available, what makes sense and whether there are any details worth changing before the order is placed.
Step 10: Speak to MTB Monster before ordering
A custom Orbea is a big purchase, so it is worth getting the details right.
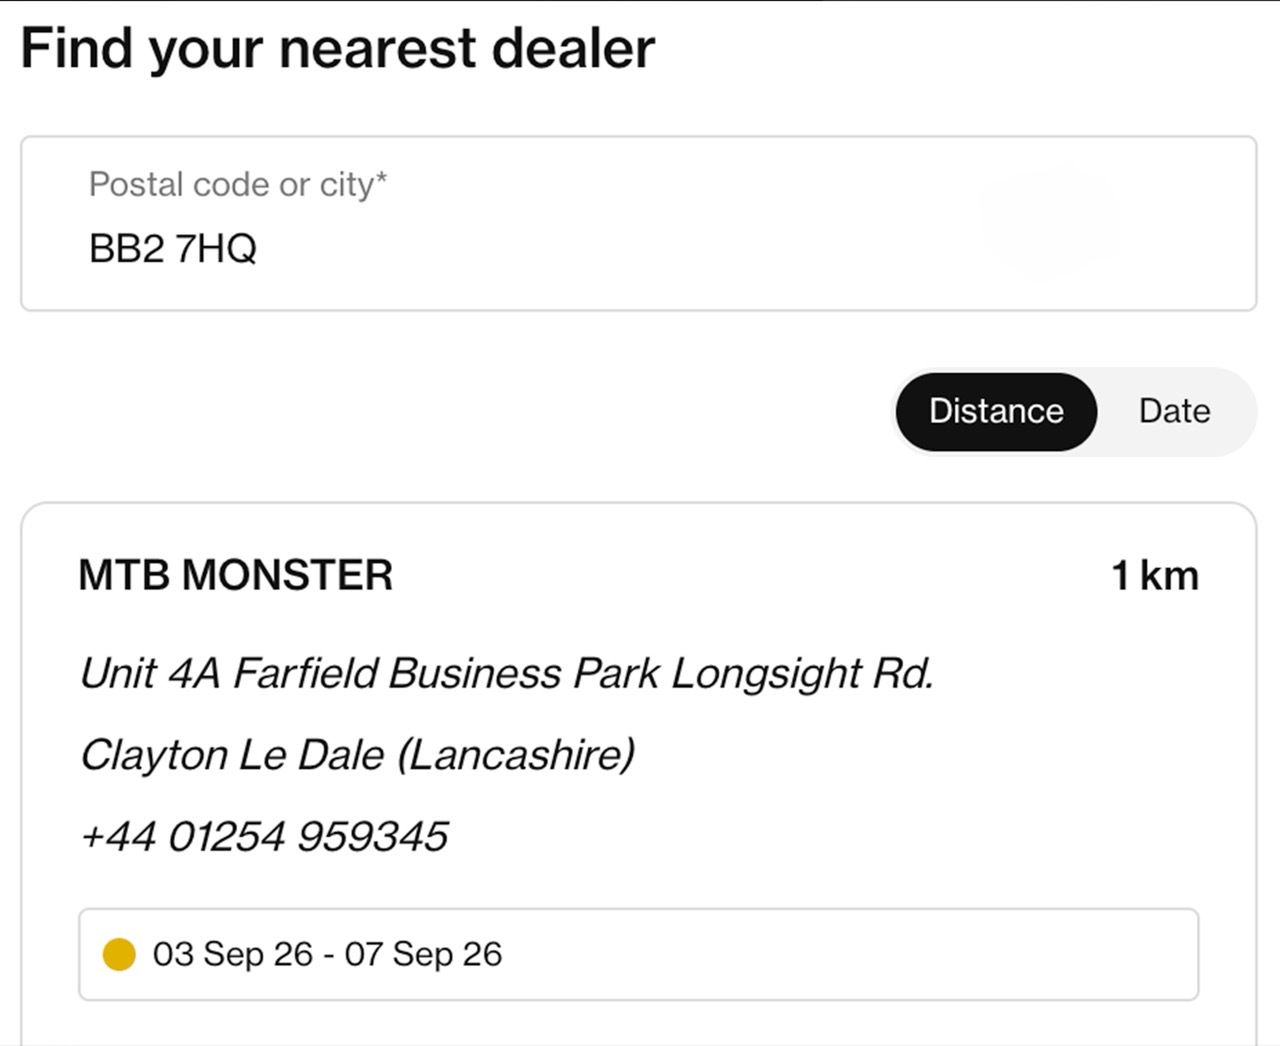
At MTB Monster, we can help with sizing, spec advice, model choice and MyO design checks before you commit.
Whether you already have a finished MyO code or you are still deciding between models, we can help make sure the bike suits your riding and the final build makes sense.
We can also talk through finance options, lead times, delivery, collection and any upgrades you may want to add.
Why choose an Orbea MyO bike?
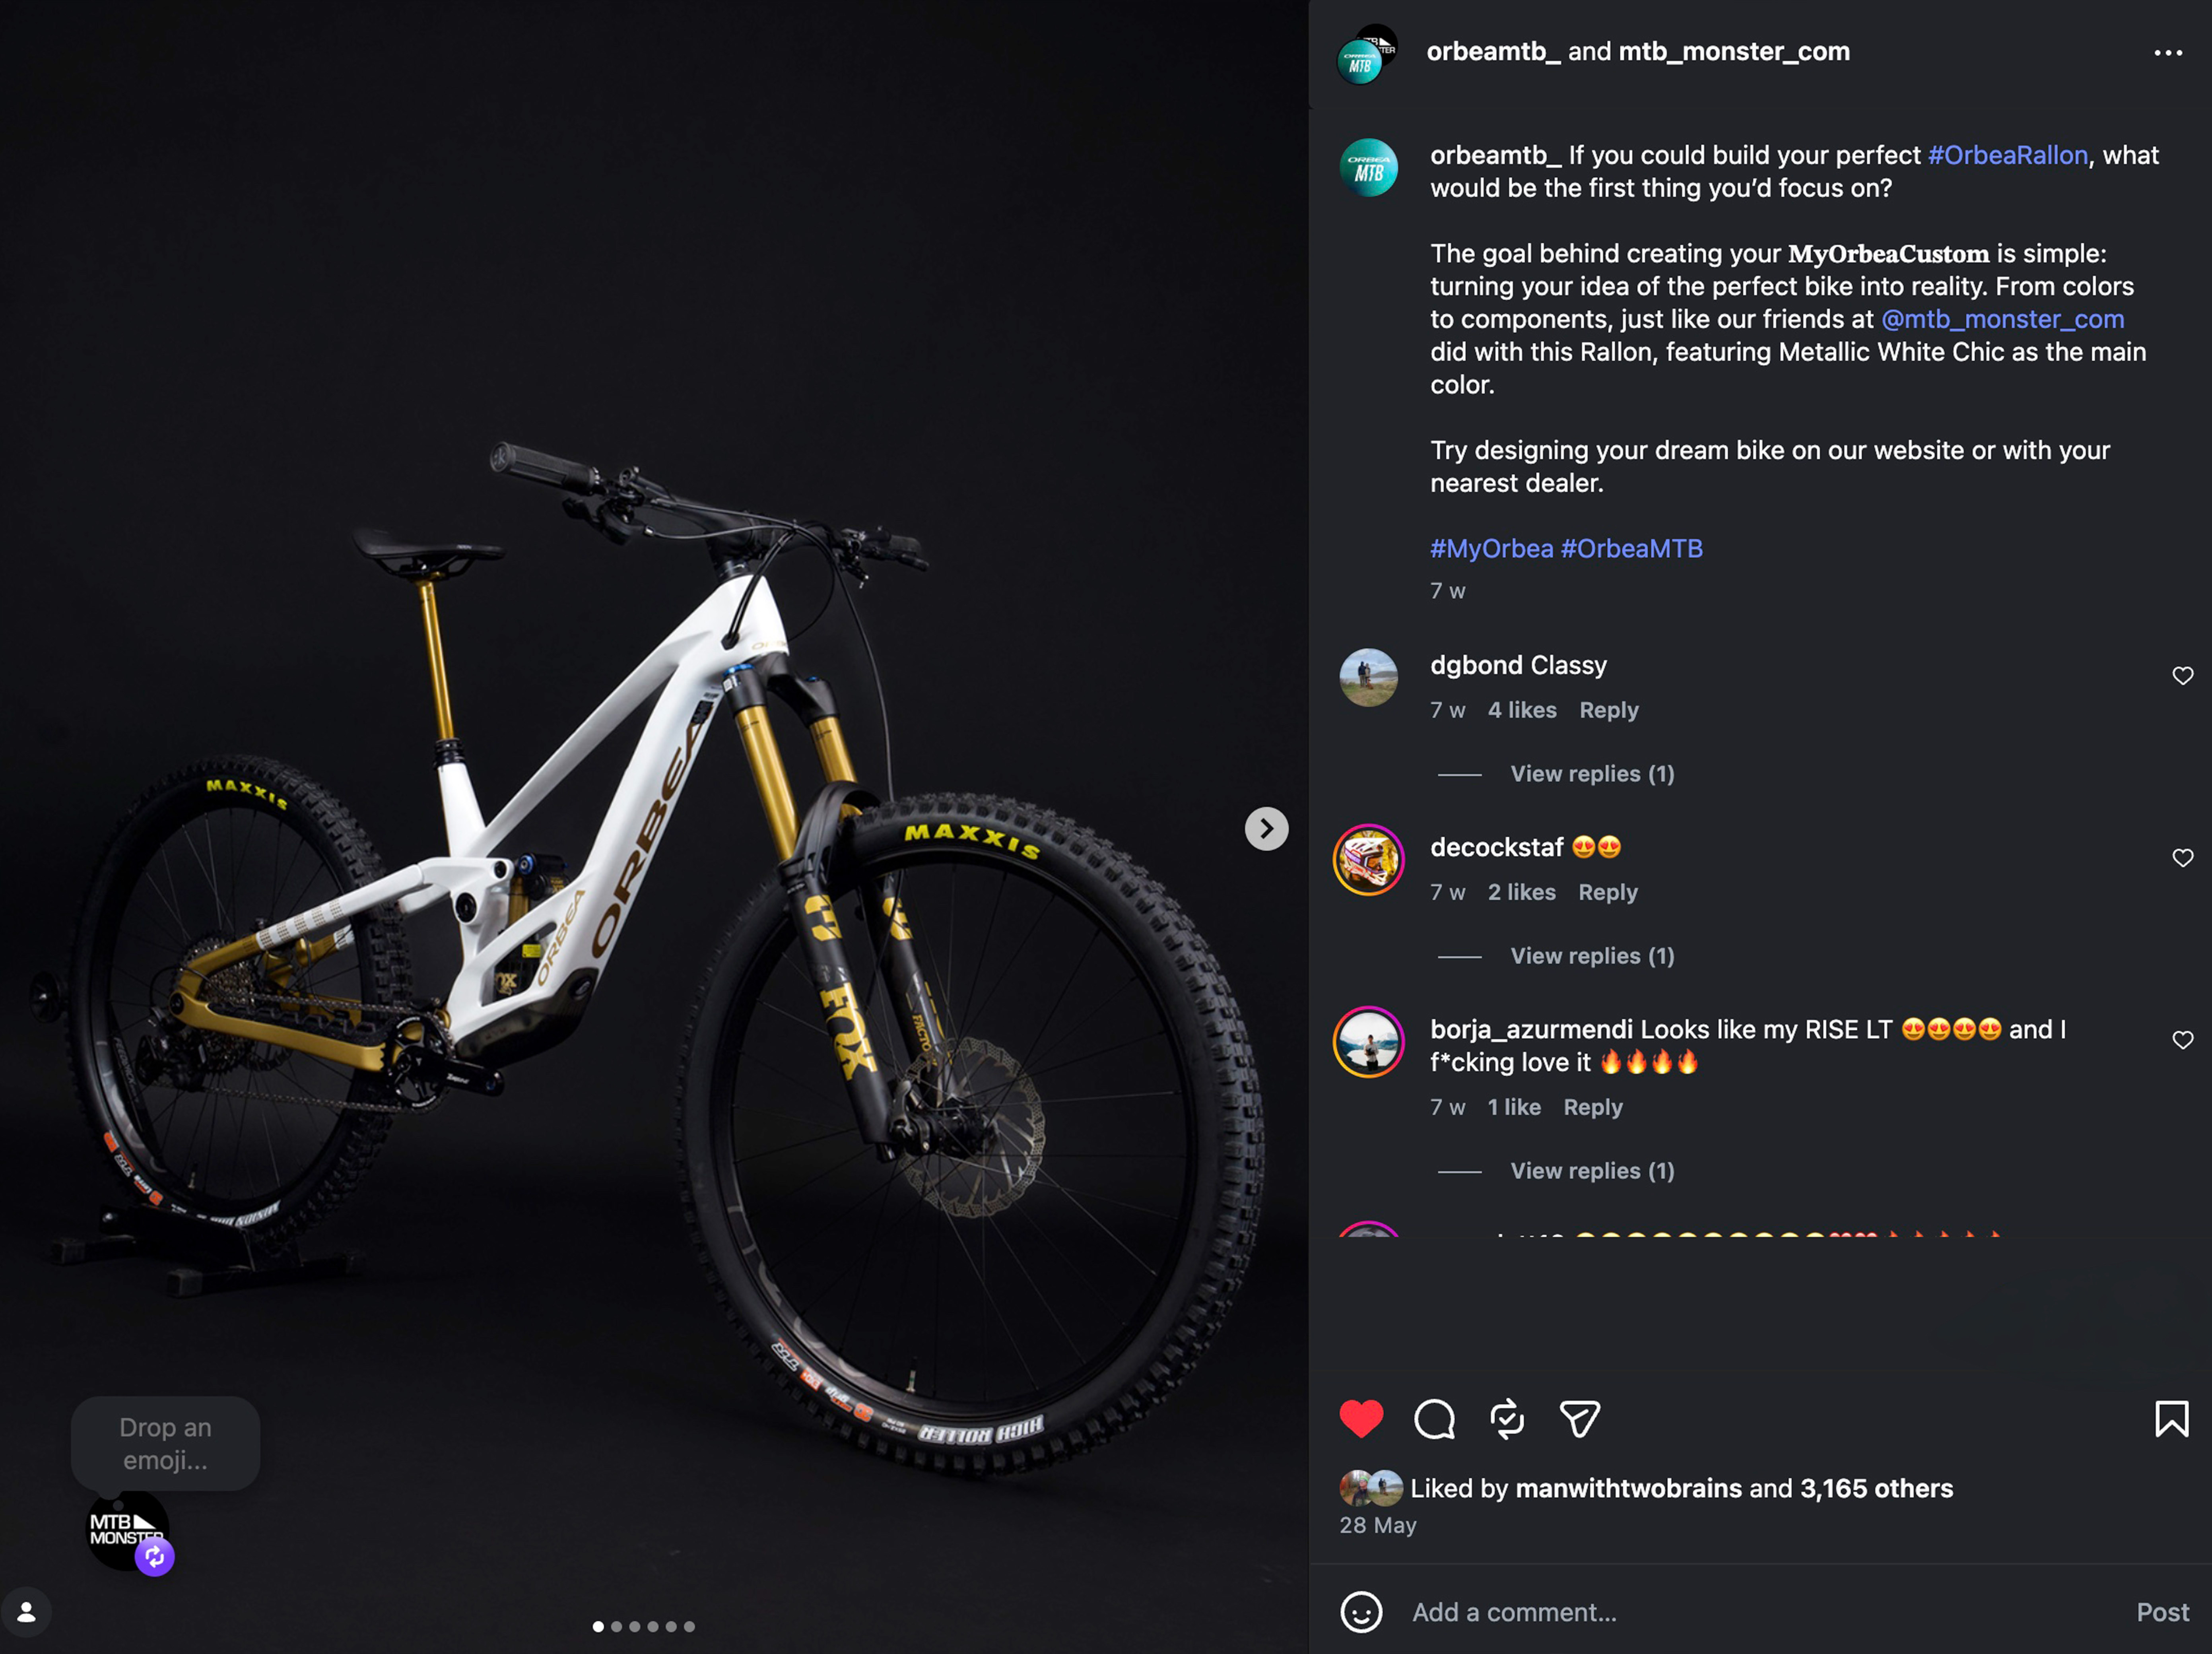
The biggest appeal of MyO is that the bike feels more personal.
You are not just choosing from a stock colour.
You are building a bike around your own preferences.
For some riders, that means a completely unique finish. For others, it means choosing the right components, tyres and contact points from the start. Either way, MyO gives you more control over the finished bike.
It is a great option if you want something different without going down the route of a full custom frame or aftermarket paint job.
You get the support of Orbea’s factory process, with the freedom to make the bike your own.
Final thoughts
Orbea MyO is one of the easiest ways to create a bike that feels properly personal.
Start with the right model.
Choose the correct size.
Build the colourway carefully.
Then use the component and fit options to make sure the bike suits your riding, not just your screen.
Once you have created your design, send your MyO code over to MTB Monster and we can help check everything before you place the order.
A custom bike should look good.
More importantly, it should ride properly.
That is where MyO really works.
To see our selection of Orbea bikes and MyO selection Click here
Click here to view our own video on How to Design an Orbea MyO.
Posted by Paul Hoyle on 20th Jul 2026
Need any further help in choosing your next bike? Drop us a line on 01254 959345, or alternatively fill out the form below. We'd be glad to help.