New bike day is an exciting time, assembling your new bike from MTB Monster is straightforward process but we understand it can be daunting which is why we've put the following guide together to help.
Our team of qualified mechanics have checked the bike against our rigorous Pre-Delivery Inspection before shipping the bike and have expertly package your bike safely for it journey to you.
To best protect the bike in transit, we remove the front wheel, handlebars and pedals, while wrapping the bike in a generous amount of bubble wrap and recycled packaging. In the box, you'll find the the tools to refit these with your bike.
Please follow the steps below in order to get your bike ready for its maiden voyage and do not hesitate from contacting us if you have any queries.

1.
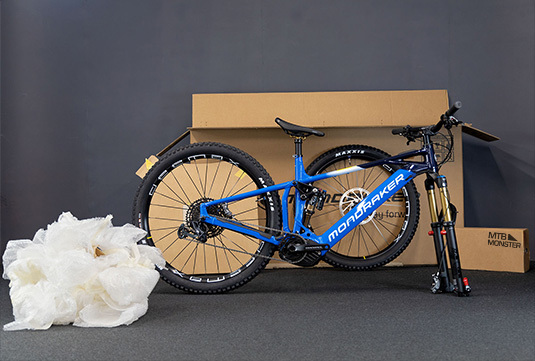
Remove the bike from the shipping box and remove the packaging from the handlebars. You will spot that the packaging is held in place using masking tape which means that you dont need any sharp tools to unpackage your bike.
We strongly advise against using scissors or a blade within close proximity to your new bike.
2.
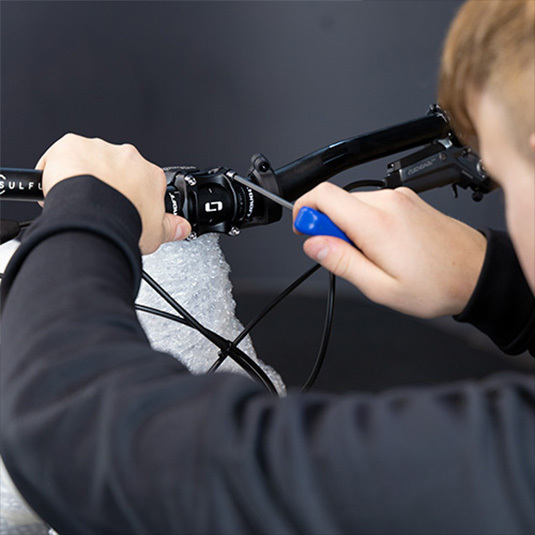
To put your handlebars on, remove the stem plate (usually held on by four bolts), and slot the bars into place centrally. The cable routing should look neat at the front of the handbars when the handlebars are offered to the stem.
Tighten the bolts using an Allen Key (provided) to the correct torque, if not specified on the stem our mechanics recommend between 5Nm and 6Nm.
It's best to do this while the packaging is still on the frame to prevent any components such as brake levers from damaging the paint finish on the frame.
3.
With the handlebars fitted, the big reveal is next. Carefully unpackage the bike by tearing the masking tape holding the packaging on the frame. With this to one side, locate the front wheel and the box of bits.
The box of bits contains the PDI check sheet and Important Information along with the manufacturer manuals, and charger for an ebike.
When unpackaging the front wheel, take care when removing the black discs from the hub to ensure that the end cap is not removed with the protection disc as this is important for fitting the front wheel within the forks.
4.
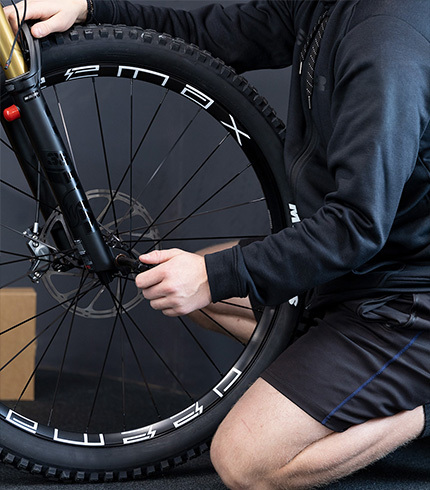
Next is fitting the front wheel. Remove the axle from the forks and keep it to hand. Slot the wheel into the grooves at the bottom of the fork where you have just removed the axle from, this should be a snug fit. Make sure the brake disc fits in between the brake pads without applying force. Replace the axle through the forks and the front wheel hub making sure it is torqued to the specification on the axle head, if you are unsure please contact us.
The next step is adjusting the saddle height to suit yourself, setting your brake levers to suit.
If you have provided your weight during the order process, our mechanics will have pre-set the air pressure in the suspension.
If you have any questions with this stage, contact our mechanics who will be more than happy to help.

5.
If you are fitting your own pedals, or have purchased some pedals from ourselves, please take note that the left and right pedals have different threads.
The pedals can be wound on by hand by back pedalling the bike and holding the pedal by the axle before being tightened with an allen key.